• High resistance to heat flow, i.e. low
• High compressive strength,
• High insulation value long term. materials.
• Resistance to water and vapour diffusion
• Light weight and easy to handle. and water absorption.
• Resistance to bacteria and micro
• Long term durability.
• organism growth.• Uniform density distribution.
• Non-toxic.
• Does not contain CFC/HCFC.
• Odourless and Non-irritant to skin.
The cost of energy and demand for air conditioning in buildings is constantly increasing. With increased energy conservation becoming more and more relevant, the ability of the product selected to effectively insulate a building of whatever type is very important.
Insulation should be viewed as a long term investment. Consequently, one of the best ways to optimize this investment is by choosing high quality and effective insulation material for buildings.
INSUBoard provides an excellent resistance to heat flow. There is no change in the K value (Thermal conductivity) of the material after prolonged usage and hence the heat flow into/out of the system remains intact.
Water Vapour
Closed cell structure of INSUBoard provides exceptional resistance to water permeability and will absorb less than 1% water by volume.
Density
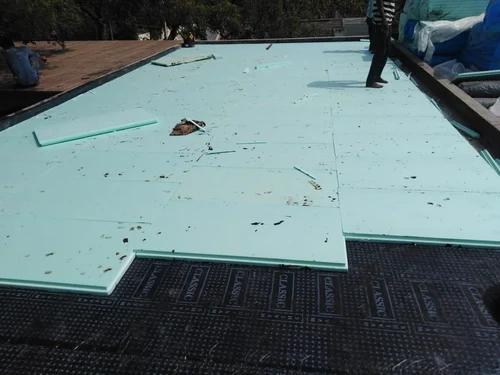
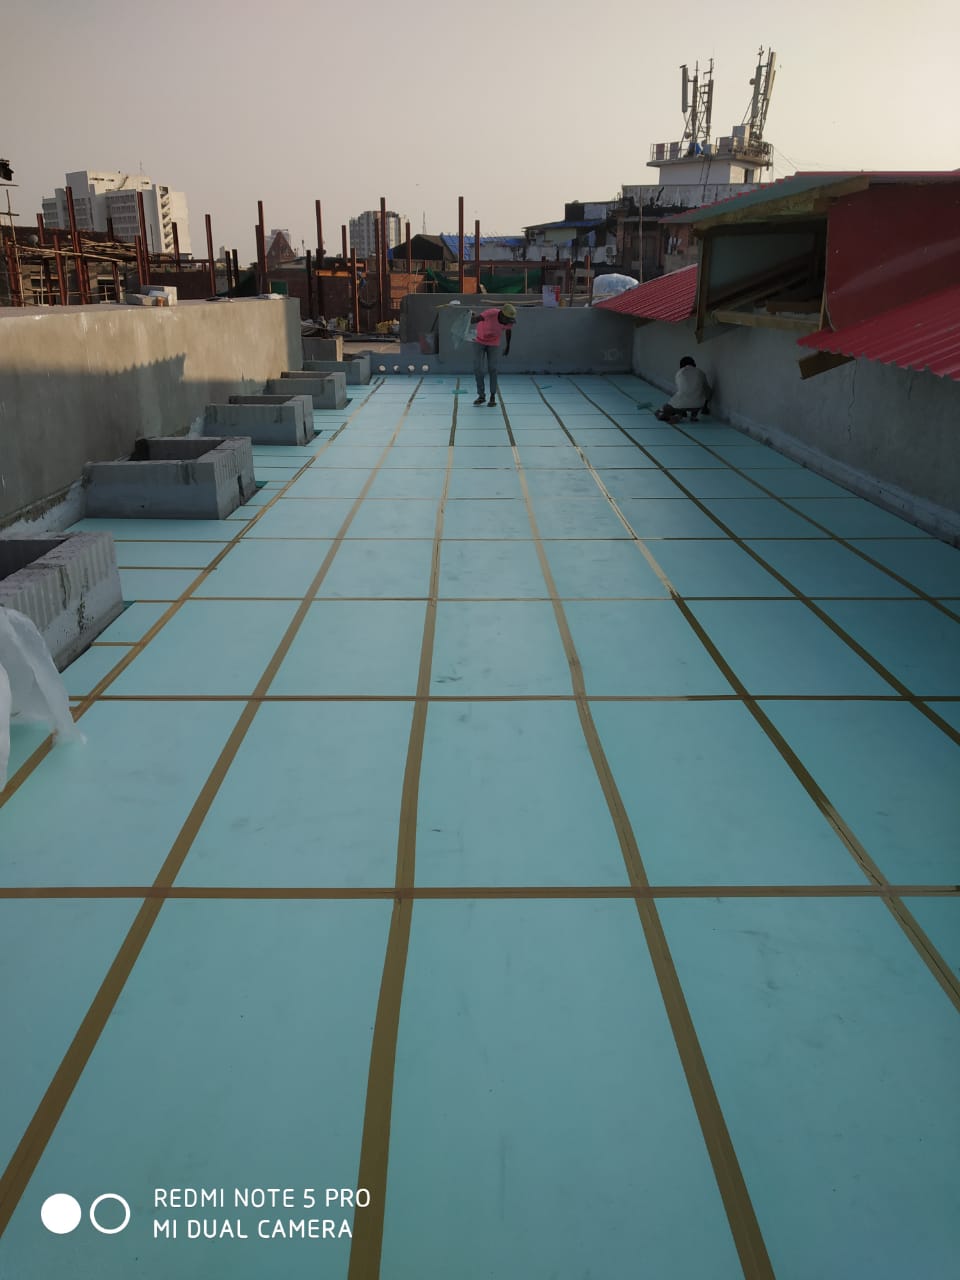
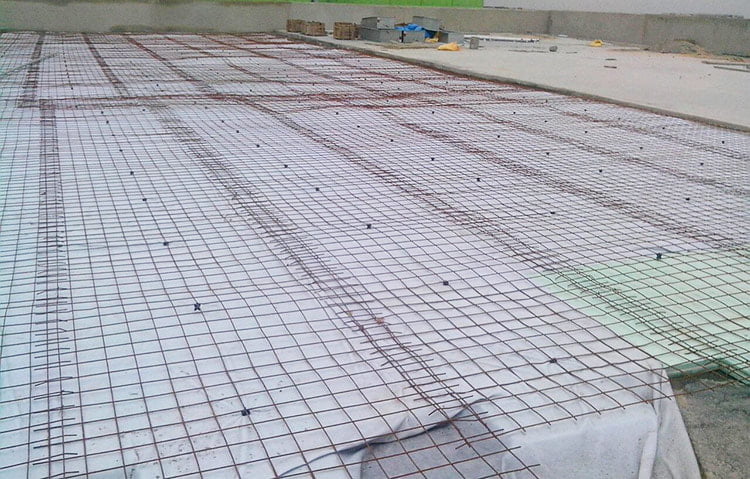
INSUhard has a uniformly high density and compressive strength, making it an ideal solution for over deck insulation and floor insulation in cold storage.
Fire
INSUBoard is tested as per DIN 4102 and is available in both class B2 & B1.
Dimensional Stability
The regularity and homogeneity of INSUboard cellular composition ensures good dimensional stability.
Application:
INStard is ideal for energy conservation in a wide range of industrial, commercial buildings, private dwellings, poultry sheds and in cold storages.
INShard is mainly used for thermal insulation of roofs, under deck insulation, external, internal and cavity wall insulation,
EIFS, industrial and cold storage floors and underground constructions, and in marine applications.
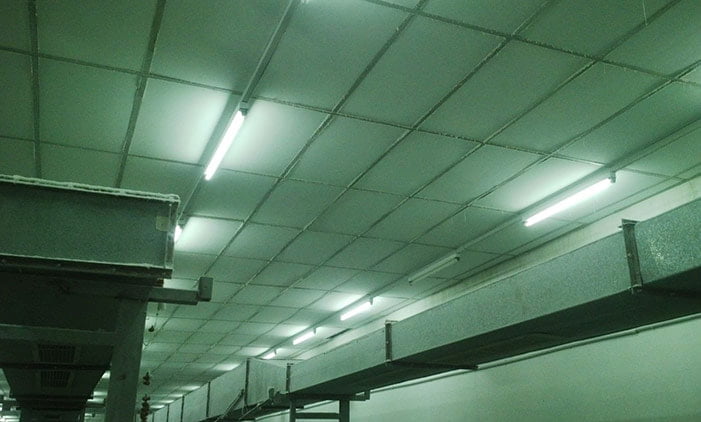
Application Methodology of Under Deck insulation with INSUboard
Complete suspenders/ drops before starting grid / frame work.
Clean the ceiling surface with wire brush, free from fungal growth, paint flaking, loose particles etc. If required, properly level and plaster.
Drill holes on RCC and insert rawl plugs forming a grid of 1 x 0.5 mtr.
Fix INSUboard of 1250mm X 600mm to the ceiling with minimum length of 75 mm SS fasteners/ screws to the rawl plugs. Fix each INSUboard with 4 fasteners at the corners and 1 at the centre of the board. Place PVC / plastic washers on the bottom side of the INSUboard after mechanically fastening the boards.
INSUboard to be installed on staggered pattern on the ceiling.
Wherever Electrical conduits are mounted and are running on the ceiling, for the continuity of insulation, properly seal with additional layer of INSUboard with extra width of more than 100 mm on both sides of the conduits and which shall be fixed to the first layer of INSUboard with fasteners/ screws of 125 mm with washers and to the ceiling with the help of rawl plugs already prepared on the ceiling.
Finally false ceiling to be provided as per the functional and aesthetic requirements of the client / Architects / consultants in charge.
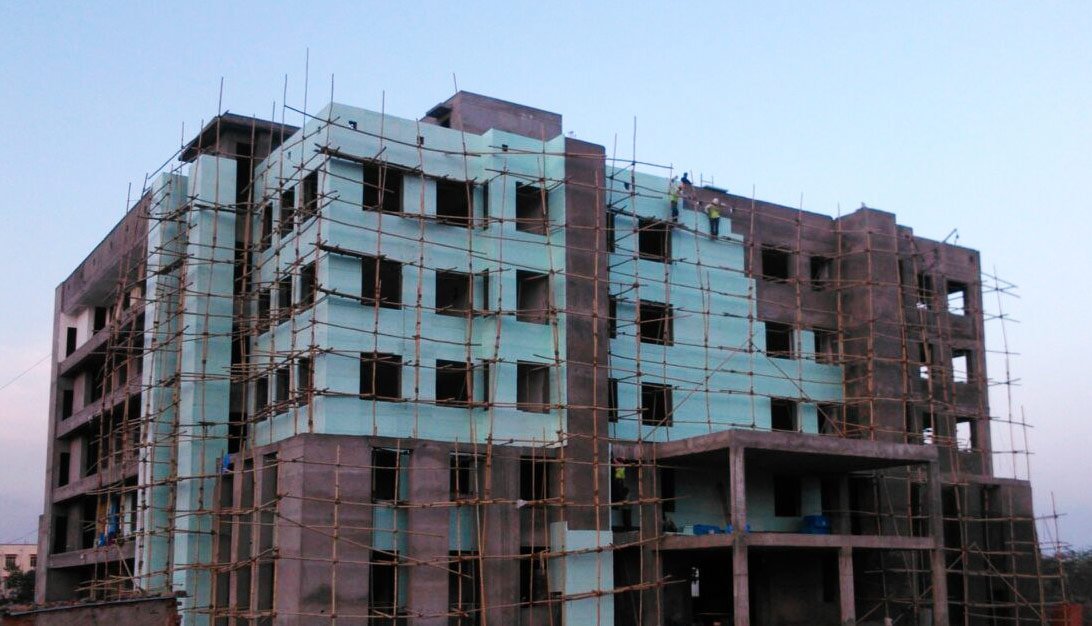
Application Methodology of EIFS (Exterior Insulation & Finishing System) with INSUboard
The walls ( brick/ concrete) should be properly leveled and plastered and free from dust, fungal growth, etc.Adhesive mortar is prepared in a clean 25 liter bucket where 25 kg of dry mix is slowly added to approx 5.5 liters of water and mixed using a paddle mixer to get a paste like consistency.
Approximately 4 kg of Adhesive mortar is applied on XPS using flat trowel and then ribbons are created using a notched trowel.
The INSUboard XPS is then fixed to wall in level and left undisturbed for 18 – 24 hours for sufficient bonding.
Holes are drilled in XPS boards and PVC fasteners are hammered to mechanically fix the boards. 
On top of INSUboard, the prepared adhesive mortar paste is applied and simultaneously, glass fiber mesh is embedded in mortar. On the edges, a protection profile is installed to safeguard the edges and left to dry for 12 – 18 hours. Once it dries, top base of adhesive mortar is applied using flat trowel at approximate consumption of 4 Kg per sq.m. to achieve base mortar thickness of roughly 3 mm.
Final Finish: Once the top base mortar dries, final finishing can be done directly on it using texture paints , skim coat , emulsion paints etc.
Installation Video
https://grainarry.in/wp-content/uploads/2023/11/insuboard_-_eifs_770.mp4
Application Methodology of External Wall Insulation with INSUboard
The walls (brick / concrete) should be properly leveled and plastered and cleaned from dust, dirt, etc. with wire brush.
Apply a coat of rubber asphaltic water based solvent free emulsion of 500 Gms / Sqm. Allow the surface to dry for at least 6 hours.
INSUboard of various thickness over the wall surface in a staggered pattern by interlocking with each boards on the ship lap joints, from the outside by mechanically fasten with PVC fasteners and PVC disk of 50mm dia disc head. The fastener length should be 30mm to 40mm more than the thickness of INSUboard. Minimum 5 Fasteners per board is required, four at corners and one at the centre .
Final Finish: Final finishing either with aesthetic stone cladding / ACP / cement particle boards with proper frame work support as per the detailing of façade solutions provider for the functional and aesthetic requirements
Alternative Option for External Wall Thermal Insulation System:
INSUboard can also be fixed with solvent free adhesive – spot stuck with “No More Nails” to the external wall surface and final finishing with aesthetic stone cladding / ACP / cement particle boards with proper frame work support.







Reviews
There are no reviews yet